ATX™ 2019
Entering a New Asset
Fixed Assets calculates prior, current, and future depreciation for each depreciable or amortizable asset. This enables you to have all of the client's asset information at your fingertips.
To add an asset:
- From an open return, do one of the following:
- From the toolbar click Add Form, and add Form 4562, Depreciation and Amortization. ATX loads the Fixed Assets in the Forms tab.
- Jump from a form field. Select Form 4562, Depreciation and Amortization, or the Fixed Asset Form. ATX loads the Fixed Assets in the Forms tab.

Fixed Asset Tab
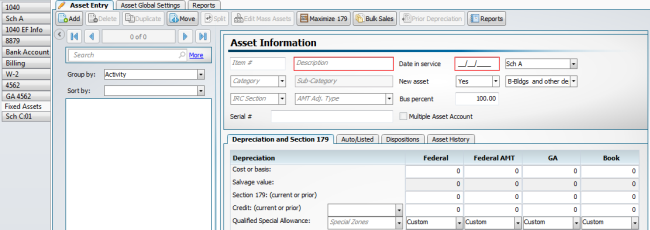
- To complete the Asset Information, enter the following information:
- A unique item number: This can be a number or combination of numbers and letters created by the user.
- A description of the asset. Required field inorder to save the asset.
- The date placed in service. Required field inorder to save the asset.
- Select the business activity from the Activity drop-down list to assign the asset. If you have only one business activity it will already be selected by default.
- Select a Category and Sub-category from the drop-down menu. Selecting a Category and Sub-category will automatically populate Method, Recovery, and Convention. You can leave these blank or override with manual entries.
- Select No from the New asset drop-down list if the asset does not meet the original use requirement.
- Select the IRC section if applicable for amortized assets. (ATX defaults to the correct code if you chose the category and subcategory)
- Select the AMT adjustment type for amortized assets, if applicable.
- Review the percentage of business use and adjust as necessary. If this is a listed vehicle, complete the Auto/Listed tab to calculate the business use.
- Click the tab related to the type of entry you are making and enter the pertinent information regarding the asset.
- Depreciation and Section 179 Tab
- Auto/Listed Tab
- Dispositions Tab
- Asset History Tab
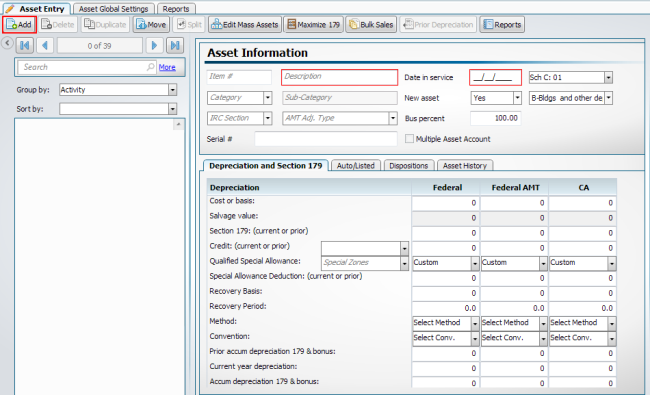
To add additional assets, click the Add button on the Asset Entry toolbar.

Fixed Assets form